Digital cameras have relatively narrow dynamic range with respect to human eye, i.e. the difference between the brightest and the darkest grades of light the camera may capture in one shot is limited. This is the reason why some stunning scenes become badly exposed photos (with absolutely black and white areas).
There is a technique to overcome this techinical limitation of modern cameras, known as High dynamic range imaging (HDR). This technique is based on taking several pictures of exactly the same scene with different exposure levels. Then the amount of light per pixel is calculated based on all images. Finally, a combined image is produced, where information about dark areas is taken from the brigher images, and information about brighter areas is taken from the darker images. These combined images often look very good.
In GNU/Linux there is a number of Free tools which support this technique. In particular, I want to mention Cinepaint (HDR in Cinepaint tutorial) and Qtpfsgui (HDR in Qtpfsgui manual).
You just need a camera bracketing support and a tripod to start making HDR images.
However, most modern consumer-level cameras take at most 3 shots in bracketing mode, and exposure step between the shots is often limited to ±2 EV or even ±1 EV (like in my camera), which allows only slightly extend the camera's dynamic range using HDR technique.
In this case it is often easier and faster combine those three images taken with a camera using Exposure Blend plugin for GIMP (the site seems to be temporarily down, in Debian Exposure Blend plugin is part of the gimp-plugin-registry package). This is not a true HDR, but it allows to take dark details from the brighter image, and bright details from the darker image. The result is good enough, because even true HDR based on three images shot with a consumer-level camera with ±1 EV bracketing wont look much better.
In GIMP you may run the plugin from menu Xtns / Photo / Exposure Blend. Give the filenames of the three files you want to merge. All the other settings are likely OK by default.
You may get better results if your camera supports bigger bracketing step. Unfortunately, my camera does only ±1EV, which is not enough.
So I have taken a slightly different approach in the next example. I shot one image in RAW format (12 bit per color channel), and then post-processed it with UFRaw, producing three images with 0±2EV exposure correction.
Now see the results:
 +
+  +
+  =
= 
Just compare the original image to the composite image obtained after exposure blending (below):

In exposure blended image the dark details are more distinct than in the original image: compare the background, the balls, the suface. Still in the bright areas there are also more details too: compare the wax of the candle. And this is with just few clicks!
I did not correct gamma, color or curves on purpose. One of the key advantages of exposure blending over HDR is that unlike in HDR in exposure blending the tone and the colors are preserved. No need to tweak tone mapping parameters. Exposure blended images always look natural.
Take a look at other Exposure Blended photos at Flickr:
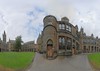
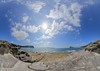

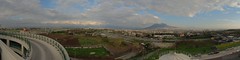
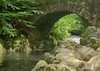
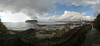 and other photos tagged as exposureblend
P.S. I have wrote this post also in Russia, see Плагин для GIMP Exposure Blend вместо HDR


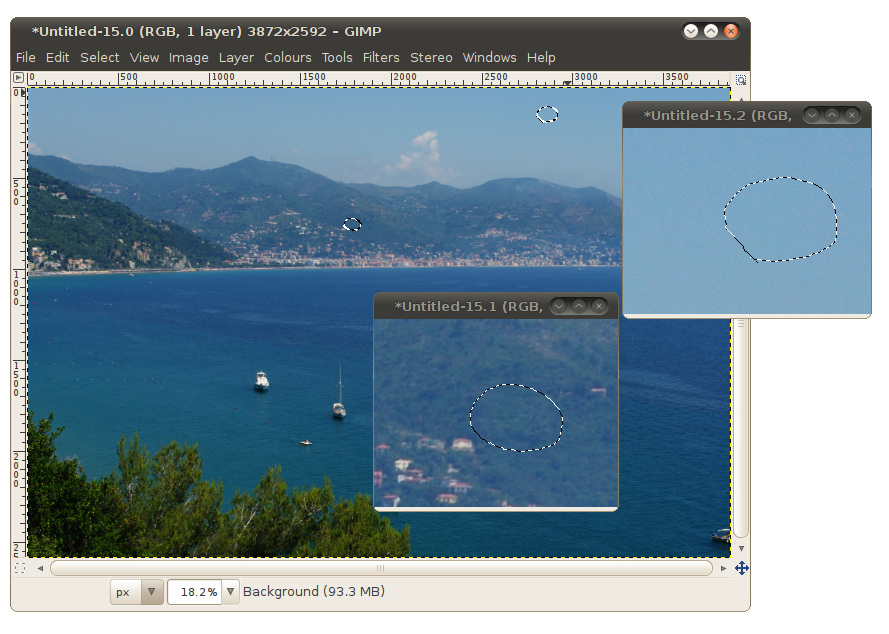
 . Press Shift to add more than one spot to selection. Select also a handful of “clean” pixels around. Which pixels are on the border of the selection matters.